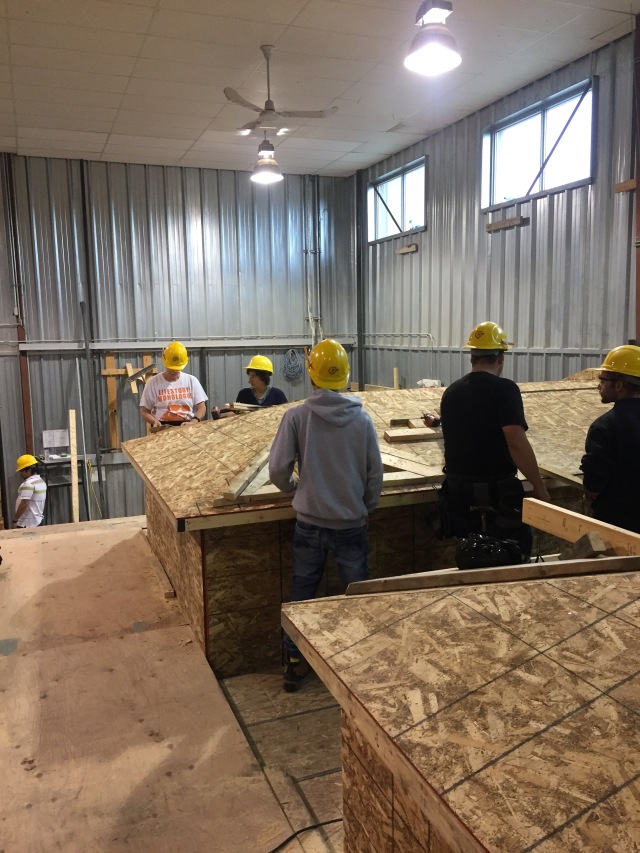
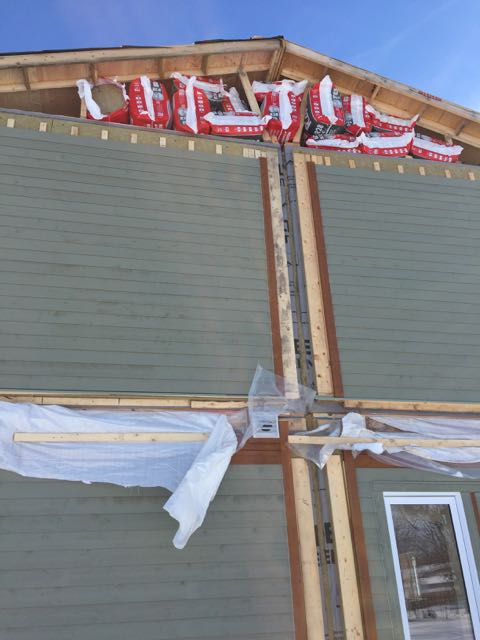
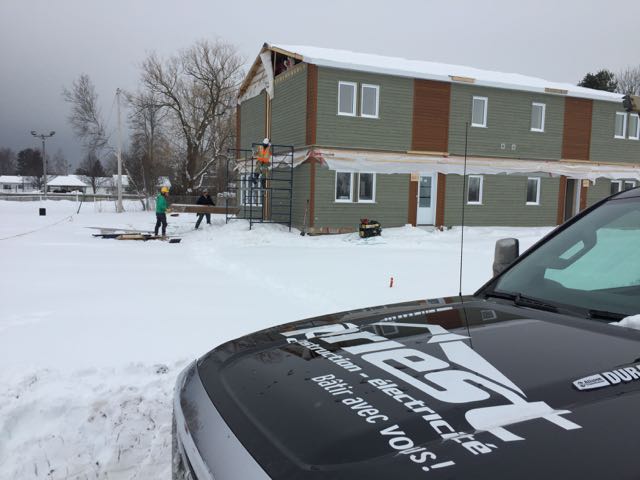
In the continuation of the “roofs” series, here is a recap of what we have been working on.
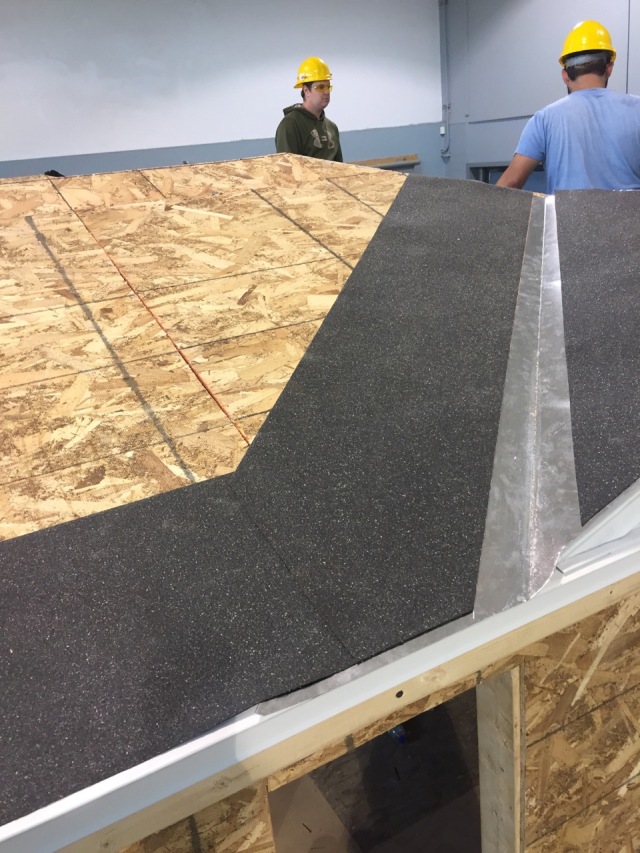
After completing the dormer and installing the finishing on the gable end, we started preparing the roofs for the shingles. We began by installing a membrane around the perimeter of the roofs and also up the valley. Using the principle of “thinking like a raindrop”, we over lapped the membrane to facilitate water protection.
We then noticed that a complete set of instructions are inside every pack of shingles, so all of the correct steps and procedures are there for the reading for the discerning carpenter!
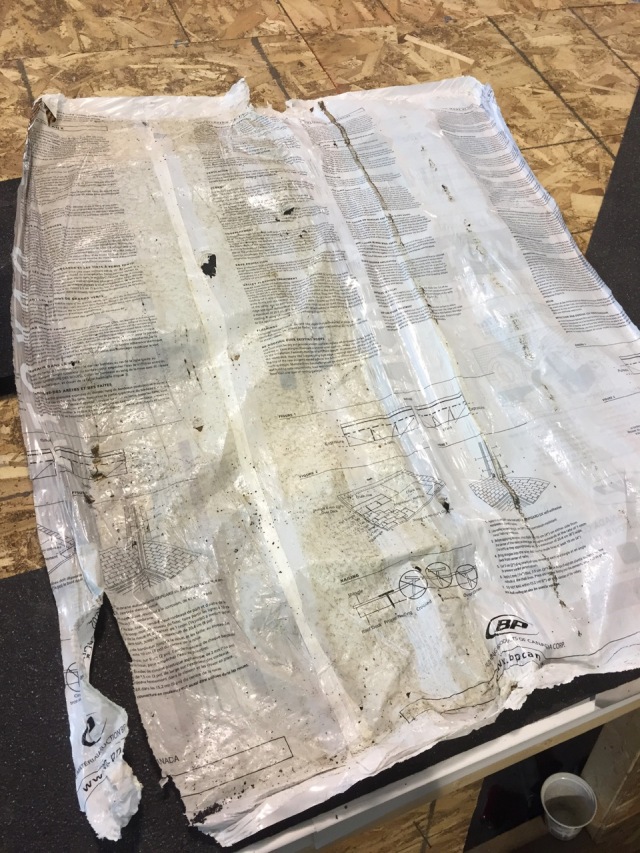
For the moment, you can use this blog as the necessary instructions!
We prepared the starter shingle, which is actually the upper edge of a regular shingle (with the tabs cut off). Care is taken to cut cleanly and straight as this edge will be showing over the edge of the roof.


This is nailed with a 1/4″ – 3/8″ overhang, making sure the reveal is similar for the entire roof edge. The valley is cut clean and straight, following the membrane and respecting the open valley.
The first full row is installed after snapping a line representing the upper edge of the shingles along the entire roof. We do this to ensure a straight row from which to continue.
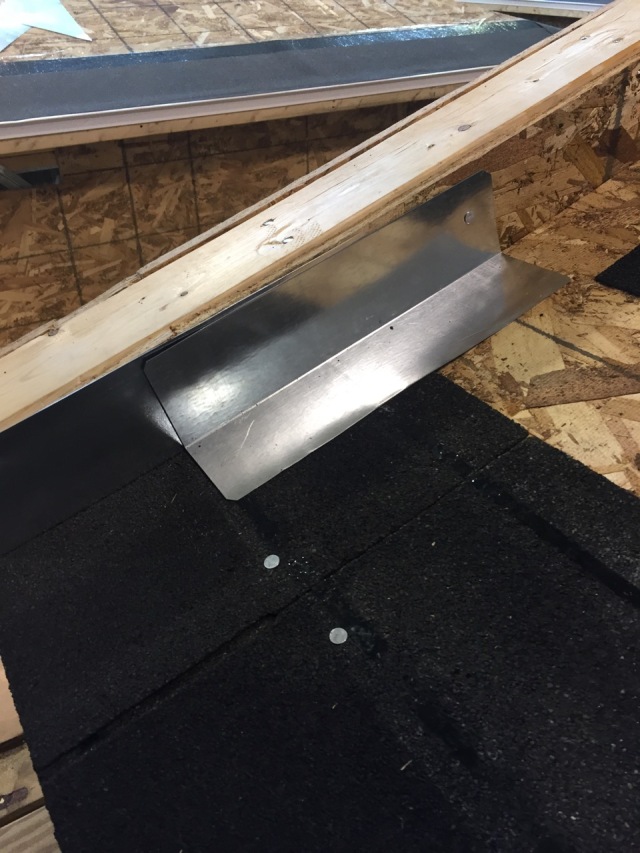
The step flashing is installed as a continuation of each row.
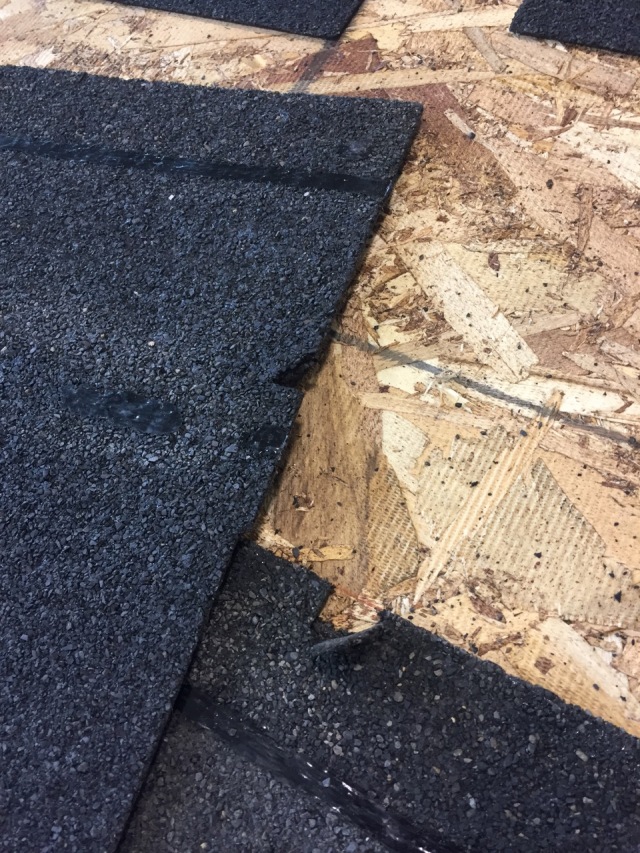
After this we use the cut outs on each shingle to create the correct pattern. We work towards the valley or the hip (depending on the roof you are working on) and either add or subtract a half tab so the the “brick pattern” imitates the slope created by that valley or hip. All nails should be hidden by the row above it.


Here is a shot of the cuts on each shingle:
It is pretty simple really, but the “rules” need to be respected as are elaborated in this snapshot of the whiteboard:
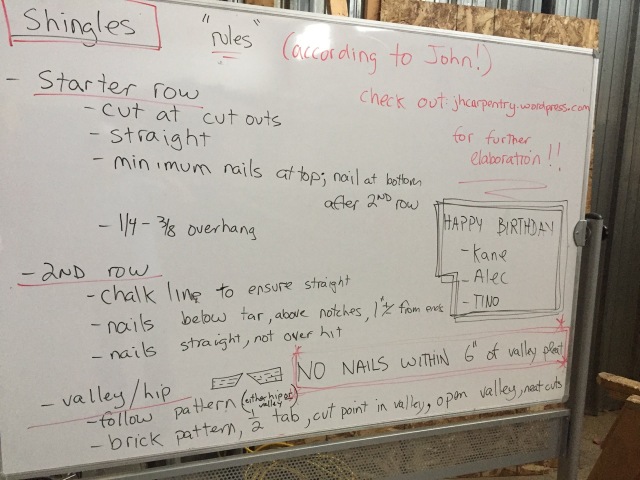
Take care to place the nails correctly and to set them straight without cutting the face of the asphalt shingle.


We will review as we go along. Remember, questions, either in class or on this blog are welcome!!
jh